> For the complete documentation index, see [llms.txt](https://docs.hablla.com/llms.txt). Markdown versions of documentation pages are available by appending `.md` to page URLs; this page is available as [Markdown](https://docs.hablla.com/hablla-docs-en/hablla/settings/business-hours.md).
# Business Hours
At Hablla, service hours are used to define what happens to each received message depending on the time it arrives. This allows customizing the customer experience according to the time they interact with the company.
**Example:** Imagine the company's service hours are from 08:00 to 12:00 and from 14:00 to 18:00. These hours are configured within Hablla and integrated into the WhatsApp service flow.
* If a customer sends a message **within service hours** (for example at 08:30), the system will recognize that staff are available and will forward the message to an agent.
* If the customer sends a message **outside service hours** (for example at 01:00), the system identifies that there is no live support and offers other options: it can send an automated reply explaining the service hours, or route the message to an AI to respond at that time.
### What do you need before you start?
Have a user with the **administrator**.
### How to configure service hours within Hablla?
1\. Once logged into your account, go to the [Studio](https://studio.hablla.com/workspace/643d802021b6aa9234eb9797/marketing?fbp=fb.1.1712329167332.250162840\&sck=227645b2-b9a6-4863-9ce0-d3ac4e0793cc\&external_id=227645b2-b9a6-4863-9ce0-d3ac4e0793cc\&fbp=fb.1.1753742035820.5658395625\&sck=730218fd-da2e-40d1-b6a8-b13deea06044\&external_id=730218fd-da2e-40d1-b6a8-b13deea06044). In the upper right corner of the screen, next to the initial of your name, you will find the **Settings** (gear). Click it to open the **settings**.
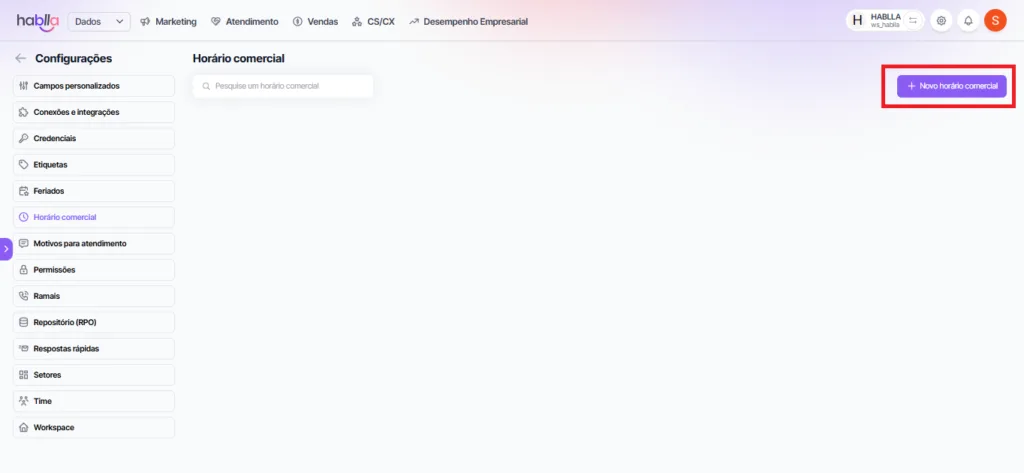
2\. On the left side of the screen in the **Settings**menu, locate the section **Business hours**.
3\. Then select the button on the left side of the screen **New business hours**.
1.
4\. Fill in the fields with the **Schedule name** and the **Period name**, select the time corresponding to the created period and choose the days of the week when that period will apply.
5\. To create a new period, choose the option **Add Period**
6\. Fill in the information for the new period. You can add as many periods as you want.
7\. If you want to delete a period, select the icon corresponding to the delete action.
8\. Once you finish configuring the New schedule, select **Save**.
9\. Confirm the creation of the **New schedule**.
10\. The created schedules will be listed in the **Business Hours**.
To conclude the step-by-step configuration of service hours for the team, you can use text like this:
***
**Done!** 🎉 You have now configured the service hours for your team on the Hablla platform. With this, your support will always be aligned with the team's availability, ensuring a more organized and agile experience for customers.
If you need to adjust the hours in the future or have any questions, just come back here and follow this guide. If you encounter any difficulties, our support is always ready to help. 🚀
Now, enjoy this feature to further optimize service for your audience!
---
# Agent Instructions
This documentation is published with GitBook. GitBook is the documentation platform designed so that both humans and AI agents can read, navigate, and reason over technical content effectively. Learn more at gitbook.com.
## Querying This Documentation
If you need additional information that is not directly available in this page, you can query the documentation dynamically by asking a question.
Perform an HTTP GET request on the current page URL with the `ask` query parameter, and the optional `goal` query parameter:
```
GET https://docs.hablla.com/hablla-docs-en/hablla/settings/business-hours.md?ask=&goal=
```
`ask` is the immediate question: it should be specific, self-contained, and written in natural language.
`goal` is optional and describes the broader end goal you are ultimately trying to accomplish on behalf of the user. GitBook uses it to tailor the answer towards what is most useful for that goal.
The response will contain a direct answer to the question and relevant excerpts and sources from the documentation.
Use this mechanism when the answer is not explicitly present in the current page, you need clarification or additional context, or you want to retrieve related documentation sections.